
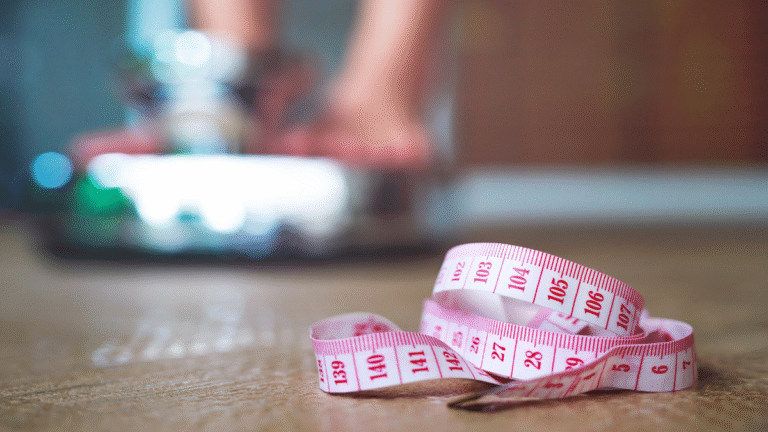
Losing weight is not easy, no matter how much you’ve lost or what method you used. It is a major accomplishment. I train women using GLP-1s, and even though the medication is the same, no two women are. That being said, there is one thing I hear often once weight loss starts. Their body and how it moves throughout the day can feel a little “off.”
This happens because while your body is getting lighter, it’s also adjusting in real time. As your weight drops, you might notice some pain, stiffness, or your posture starting to shift as your body continues to change.
Here are some of the most common alignment issues that come up after weight loss, why they happen, and what you can do about them.
How to Improve Your Posture and Joint Alignment at Home
Muscles are your body’s support system. They hold your bones in place, keep your joints lined up, and help you move with control. But they can shift depending on where you carry your weight. Since your body’s goal is to keep you upright and moving, some muscles end up doing more work than they should, while others don’t do enough.
So if muscles in areas like your hips, core, or upper back aren’t doing their job well, other parts of your body step in and take over. That’s what can lead to changes in posture or added pressure and stress on certain joints.
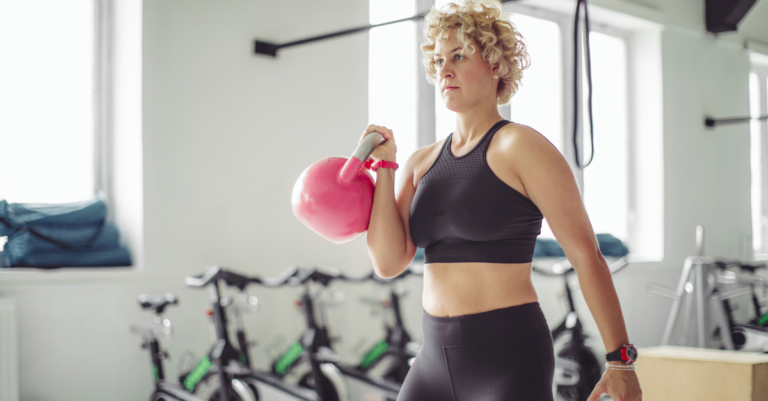
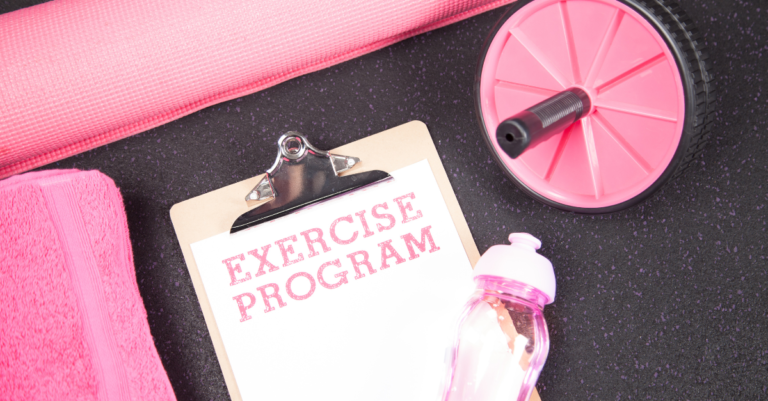
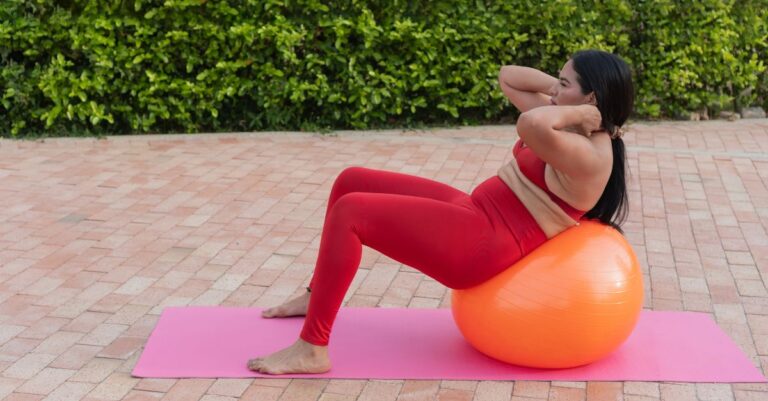
Small adjustments in how you stand, walk, or move throughout the day can make a real difference in how your body feels. Adding a few key exercises can take that even further, and you don’t need a gym membership or fancy equipment to get started.
When you practice these regularly, everyday things like moving around your home or getting up from a chair start to feel easier. Pick one or two that feel right for you and try them a couple of times a week. You’ll likely start to notice a difference in how your body responds.
Knees Collapsing Inward (Valgus Knees)
When your knees fall in toward each other as you walk, squat, or climb stairs, it’s usually because the muscles at your hips and outer thighs aren’t doing their job. Weak glutes (butt) and hips let your knees cave in, putting extra stress on the inside of your knees, which can cause pain, cartilage wear, and sometimes arthritis.
How to start fixing it:
- Check in: Stand in front of a mirror and slowly bend your knees like you’re sitting down. Notice if your knees cave toward each other.
- Activate: Sit tall in a chair, place your hands just outside your knees, and press your knees gently outward against your hands for a few seconds. Repeat 8–10 times. This wakes up the outer hip muscles that keep your knees pointing forward.
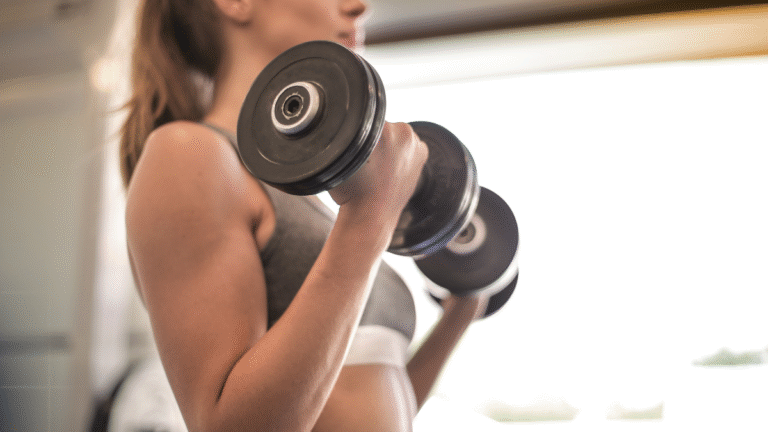
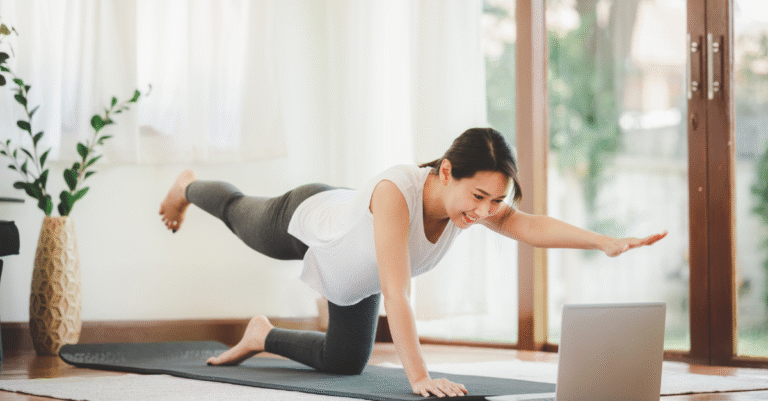
- Build strength: Hip and glute strength exercises (like bridges, standing or side-lying leg lifts, band walks) are your next step. The stronger these muscles get, the better they protect your knees.
Flat Feet or Dropped Arches (Pes Planus)
Collapsed or flattened arches change how your whole leg lines up, making your ankles roll in, which can pull your knees inward and add strain to your hips and lower back. Over time, this extra stress makes joint pain more likely.
How to start fixing it:
- Check in: Stand barefoot and look down. If your whole foot presses flat or your arch stays flat when you lift your toes, the small foot muscles need attention.
- Activate: Stand and rise slowly onto your toes, then lower. Hold a chair if needed. Try one foot at a time for 10–15 reps to wake up the tiny muscles that support the arch.
- Build support: Add balance and ankle-strengthening drills (arch lifts, marble pickups, heel/toe walking) to help rebuild your foundation and take pressure off your knees and back.
Head Jutting Forward (Tech Neck or Forward Head Posture)
You might not notice this until you see a side photo of yourself or when your neck and shoulders feel tight after using your phone or computer.
Tech neck shows up when your head sticks out in front of your shoulders. It’s common for anyone who spends a lot of time looking down at screens or sitting at a desk.
When your head moves forward, your neck and upper back muscles have to work overtime just to hold it up. This extra effort can lead to headaches, neck pain, and sometimes even tingling in your arms or hands.
How to start fixing it:
- Check in: Stand with your back against a wall and your heels touching it. See if the back of your head can touch the wall without tilting your chin up. If it feels tough or your head stays forward, tech neck might be an issue for you.
- Activate: Try chin tucks. Sit or stand tall. Gently pull your chin straight back, like you’re making a double chin, without tipping your head up or down. Hold for five seconds, then relax. Repeat 8-10 times. This helps train the muscles that keep your head lined up with your shoulders.
- Build support: Strengthen shoulders and upper back with rows, wall angels, and neck exercises. Check your head position during the day, especially when you’re using a screen: are your ears stacked over your shoulders?

Pelvis Tipping Forward (Anterior Pelvic Tilt)
If your hips tip forward and your lower back arches a lot or your belly sticks out more than usual when you stand, it probably means your pelvis (the bowl-shaped bone at your hips) is tilted forward.
This happens if you sit a lot or if your core (the muscles that support your midsection) and glutes (your butt muscles) aren’t very strong. It can also show up when there’s extra tension or pressure through the lower back or pelvic area from habits like straining or spending long periods in the same position.
How to start fixing it:
- Check in: Stand sideways in front of a mirror. Look for a deep curve in your lower back or notice if your hips seem to tip forward. That’s a clue your pelvis is tilted.
- Activate: Sit up straight in a sturdy chair, with both feet flat on the floor. Rest your hands on your hips. Now, imagine you’re trying to gently tuck your tailbone (the bottom of your spine) underneath you, almost like you’re curling your lower back toward the back of the chair. As you do this, you might feel your belly muscles tighten a bit. Hold this tucked position for about 5 seconds, then let your body relax back to your normal sitting posture. Repeat 8-10 times.
- Build support: Add core and glute strength exercises, and stretch the front of your hips. These muscles work together to balance the front and back muscles.
Rounded Upper Back (Kyphosis)
Sometimes you might catch yourself slouching, especially after sitting or standing for a while. Your shoulders may also drift forward or feel like they’re turning in.
When your upper back and shoulders round forward, the muscles in your chest tighten up, and the muscles in your upper back (between your shoulder blades) get weaker. This adds stress to your spine and neck, makes it harder to stand up straight, and can even make it tough to take a deep breath.
How to start fixing it:
- Check in: Stand with your back and the back of your head against a wall. See if you can also get your upper back (just below your shoulders) to touch the wall. If there’s a big gap or if it feels hard to get your back flat, you might have some rounding here.
- Try this movement: From that position, bend your elbows and lift your arms up, like you’re making a goalpost or a cactus shape. Slowly slide your arms up and down the wall, reaching as high as you can without letting your elbows or upper back come off the wall. Do 5-8 slow reps.
- Next step: Start to build strength in the muscles between your shoulder blades with rows and band pull-aparts. Also, try to check your posture during the day, and gently draw your shoulder blades back when you catch yourself slouching.
Joint Pain (Osteoarthritis)
Aches in your knees, hips, or lower back often come from years of extra pressure on your joints. When moving hurts, it’s natural to avoid it. But less movement can actually make things worse, because your joints are meant to move. When you stop using them, the smooth coating inside can start to dry out, your muscles get weaker, and that’s when pain sticks around.
Getting moving again can feel hard at first; you might even get a little sore. But your body is smart. With some consistency and the right movements, especially with someone who knows how to guide you, things really do get easier. Most people are surprised by how much better they feel once they start moving safely and regularly.
How to start helping your joints:
- Check in: Pay attention when you get out of a chair. Do you use your hands to push yourself up, or can your glutes and legs do most of the work? If your joints feel stiff or sore, it’s often a sign the muscles, tendons, and ligaments around them need more support and regular movement.
- Try this movement: Practice sit-to-stands. Sit in a sturdy chair with your feet flat on the floor. Stand up slowly by pressing your heels into the ground; try not to use your hands. Sit back down the same way. Aim for 5-8 reps. This move helps strengthen your glutes and legs and keeps your joints moving.
- Next step: Stick with slow, controlled strength training that’s easy on your joints. Building up the muscles and connective tissue around your hips and knees helps absorb shock and makes movement less painful.
Tips
- Progress gradually: Add reps, sets, or resistance every 1–2 weeks. Tiny increases matter, so make sure to keep track.
- Breathe: Exhale on effort (when you lift or stand) and inhale on the return.
- The slower, the better: Quality beats speed. Controlled reps protect joints and build strength faster than rushing.
- Adjust pain-free range: Mild muscle effort is normal; sharp joint pain isn’t. If it hurts, shorten your movement or take a break.
- Pause and hold: At the hardest part of a movement, hold for a few seconds. This helps your muscles learn to stay stable and builds strength without needing heavier weights.
Common Mistakes to Avoid
- Holding your breath during exercise: This raises blood pressure and adds tension.
- Relying only on cardio: Walking is excellent, but it doesn’t build the muscle you need to stay upright and pain-free.
- Ignoring posture cues: Keep ribs stacked over hips and shoulders away from ears.
Every rep you do now helps you stand taller, move more easily, and feel stronger tomorrow.
Photo Credits
Woman Sitting In Bad Posture Working On Computer by Andrey Popov from Getty Images
Before After Neck Pain Posture by Andrey Popov from Getty Images

For many women, GLP-1 medications have made weight...
If you’re living with type 2 diabetes or obesity...

Most women on GLP-1s aren’t avoiding exercise...

When you start taking better care of yourself, the...

Losing weight is not easy, no matter how much...